SewingStuff
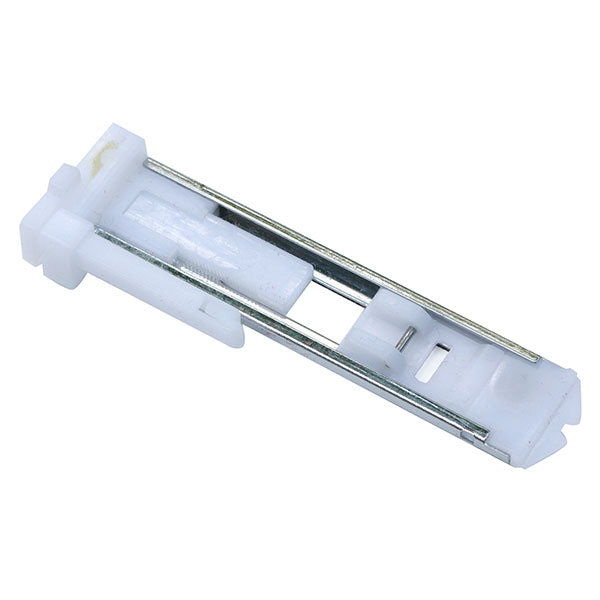
1-Step Buttonhole Foot
- Regular Price
- €21,95
- Sale Price
- €21,95
- Regular Price
- Unit Price
- Translation missing: en.general.accessibility.unit_price_separator
1-Step Buttonhole Foot can be used for sewing machines with stitch width control facility. including Toyota RS2000 3D series, and some Janome, Brother, Baby Lock, Juki, Elna, White, Bernette, etc. machines.
Instruction:


Making buttonholes
Set machine as shown in (fig A).
* Snap on buttonhole foot.
When setting buttonhole foot, make sure button plate a is set to back side. (fig B)
Incorrect setting may cause needle to break and injury.
Determine length
Mark starting point of buttonhole on fabric. (fig C)
Pull part (a) of buttonhole foot back and set button in part as shown in (fig B).
* When using soft or elastic fabric, it is recommended to place interfacing material between the fabrics.
Set position of buttonhole foot
Lower the presser foot and align the slot b with marking on the fabrics as shown in (fig D).
One Step Buttonhole Sewing
1. Set pattern selection dial to 'Buttonhole' stitch (#12 for Toyota RS2000 3D).
2. Pull down automatic buttonhole lever c and push lever towards the back as shown in (fig E).
3. Hold thread lightly then start machine.
4. Buttonhole sewing is done in order, 1-4 as shown in (fig F).
* The front bar tack is sewn first.
5. Stop machine when the sewing comes back to starting point. Then buttonhole sewing is completed.
* It is recommended to make a sample buttonhole on a scrap piece of fabric before making it on your garment.
Caution!
Do not touch metal part of buttonhole lever.
Cutting Buttonholes
Remove the fabric from the machine. Place a pin through the bar tacks to prevent over-cutting. Cut the buttonhole along centre (center) with the buttonhole
cutter. (fig G)
Caution!
When using the buttonhole cutter to cut the buttonholes, do not hold the fabric in front of the cutter. Doing so could cause an injury to your hand.

